Setup WiFi/Ethernet Network Connection
Overview
All PlugStream Charge Points support Ethernet, Wi-Fi, and (with an optional add-on card) 4G connectivity.
This guide explains how to set up Ethernet and Wi-Fi so your unit can take full advantage of PlugStream smart features.
Wi-Fi setup methods
PlugStream charge points support two Wi-Fi configuration methods:
| Method | Summary |
|---|---|
| Bluetooth app setup | The PlugStream app connects to the charger over Bluetooth and sends the selected Wi-Fi network details during setup or commissioning. |
| Local hotspot and setup portal | The charger creates a temporary local setup network. You connect a phone or laptop to that network and configure Wi-Fi in the charger setup portal. |
Use the Bluetooth app setup where it is available for the charger and installation workflow. Use the local hotspot and portal method when the app flow is not available, when firmware requires it, or when PlugStream Support directs you to use it.
On PlugStream 7S (PS-7S) and PlugStream 7T (PS-7T) firmware version 1.42.0 or later, Bluetooth is available for the first 10 minutes after power-on. It returns after the charger has been offline for about 5 minutes, stays available during an active connection, and may remain available for up to 30 minutes after recent Bluetooth activity. See Bluetooth Availability and Setup Windows.
Ethernet
- PlugStream includes an RJ-45 Ethernet port on the main board.
- Connect a standard LAN cable to this port.
- No configuration is required — the charger will automatically request an IP address from your network’s DHCP server.
For the most reliable performance, we recommend using Ethernet whenever possible.
Local hotspot Wi-Fi setup
If no Ethernet connection is detected, PlugStream will create a temporary Wi-Fi hotspot for setup.
- The hotspot will appear as PlugStream-XXXX, where
XXXXare the last 4 digits of your device’s serial number. - On some firmware versions, the hotspot may simply appear as PlugStream.
Steps to Configure Wi-Fi with the local portal
- On your phone or laptop, open Wi-Fi settings and connect to the PlugStream network.
- On firmware containing the adoption-credential update after version 1.45.0, the password is normally the unique device adoption code supplied during device provisioning and shown in the PlugStream Installer app or customer handover. Enter it exactly as shown; it is case-sensitive.
- A device without an assigned, WPA2-usable adoption code retains its sanitised serial number as a documented migration fallback. The retired common-default credential is not accepted by the updated firmware.
- Firmware version 1.45.0 retains the earlier local-credential behaviour. Keep the charger connected for the successor release or contact PlugStream Support if you are unsure which credential applies.
- Once connected:
- The PlugStream configuration portal should open automatically.
- If it doesn’t, open a browser (Safari or Chrome) and go to http://192.168.4.1.
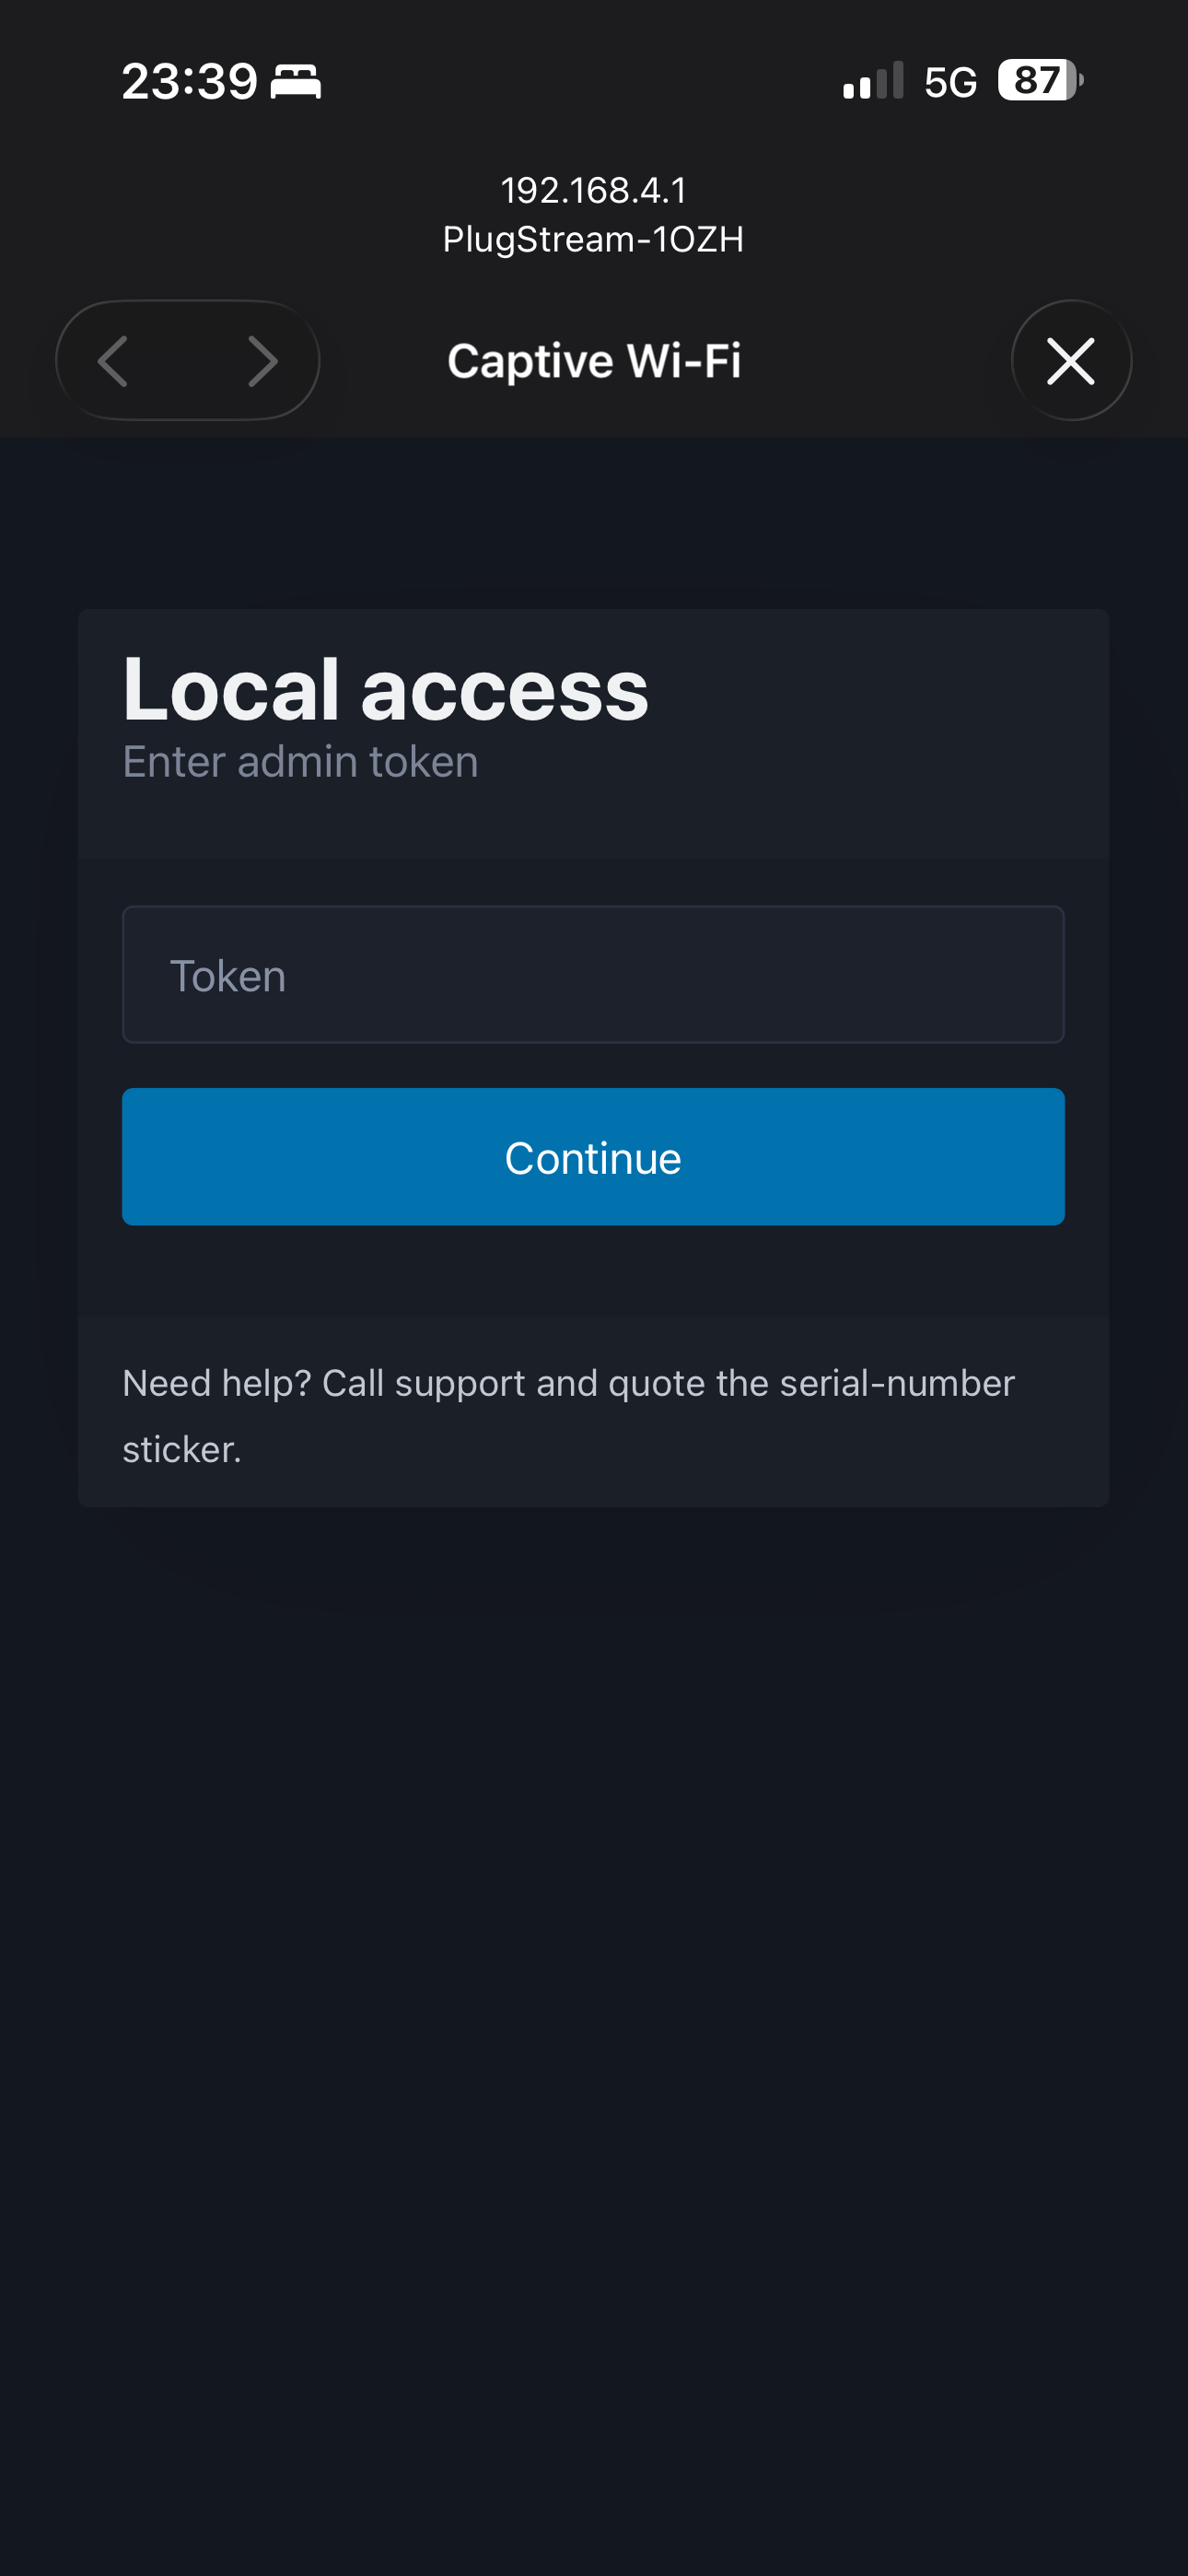
Portal login token: On the currently reviewed firmware, use the PlugStream serial number in UPPERCASE. Firmware upload and installation actions require the separately provisioned adoption or activation code.
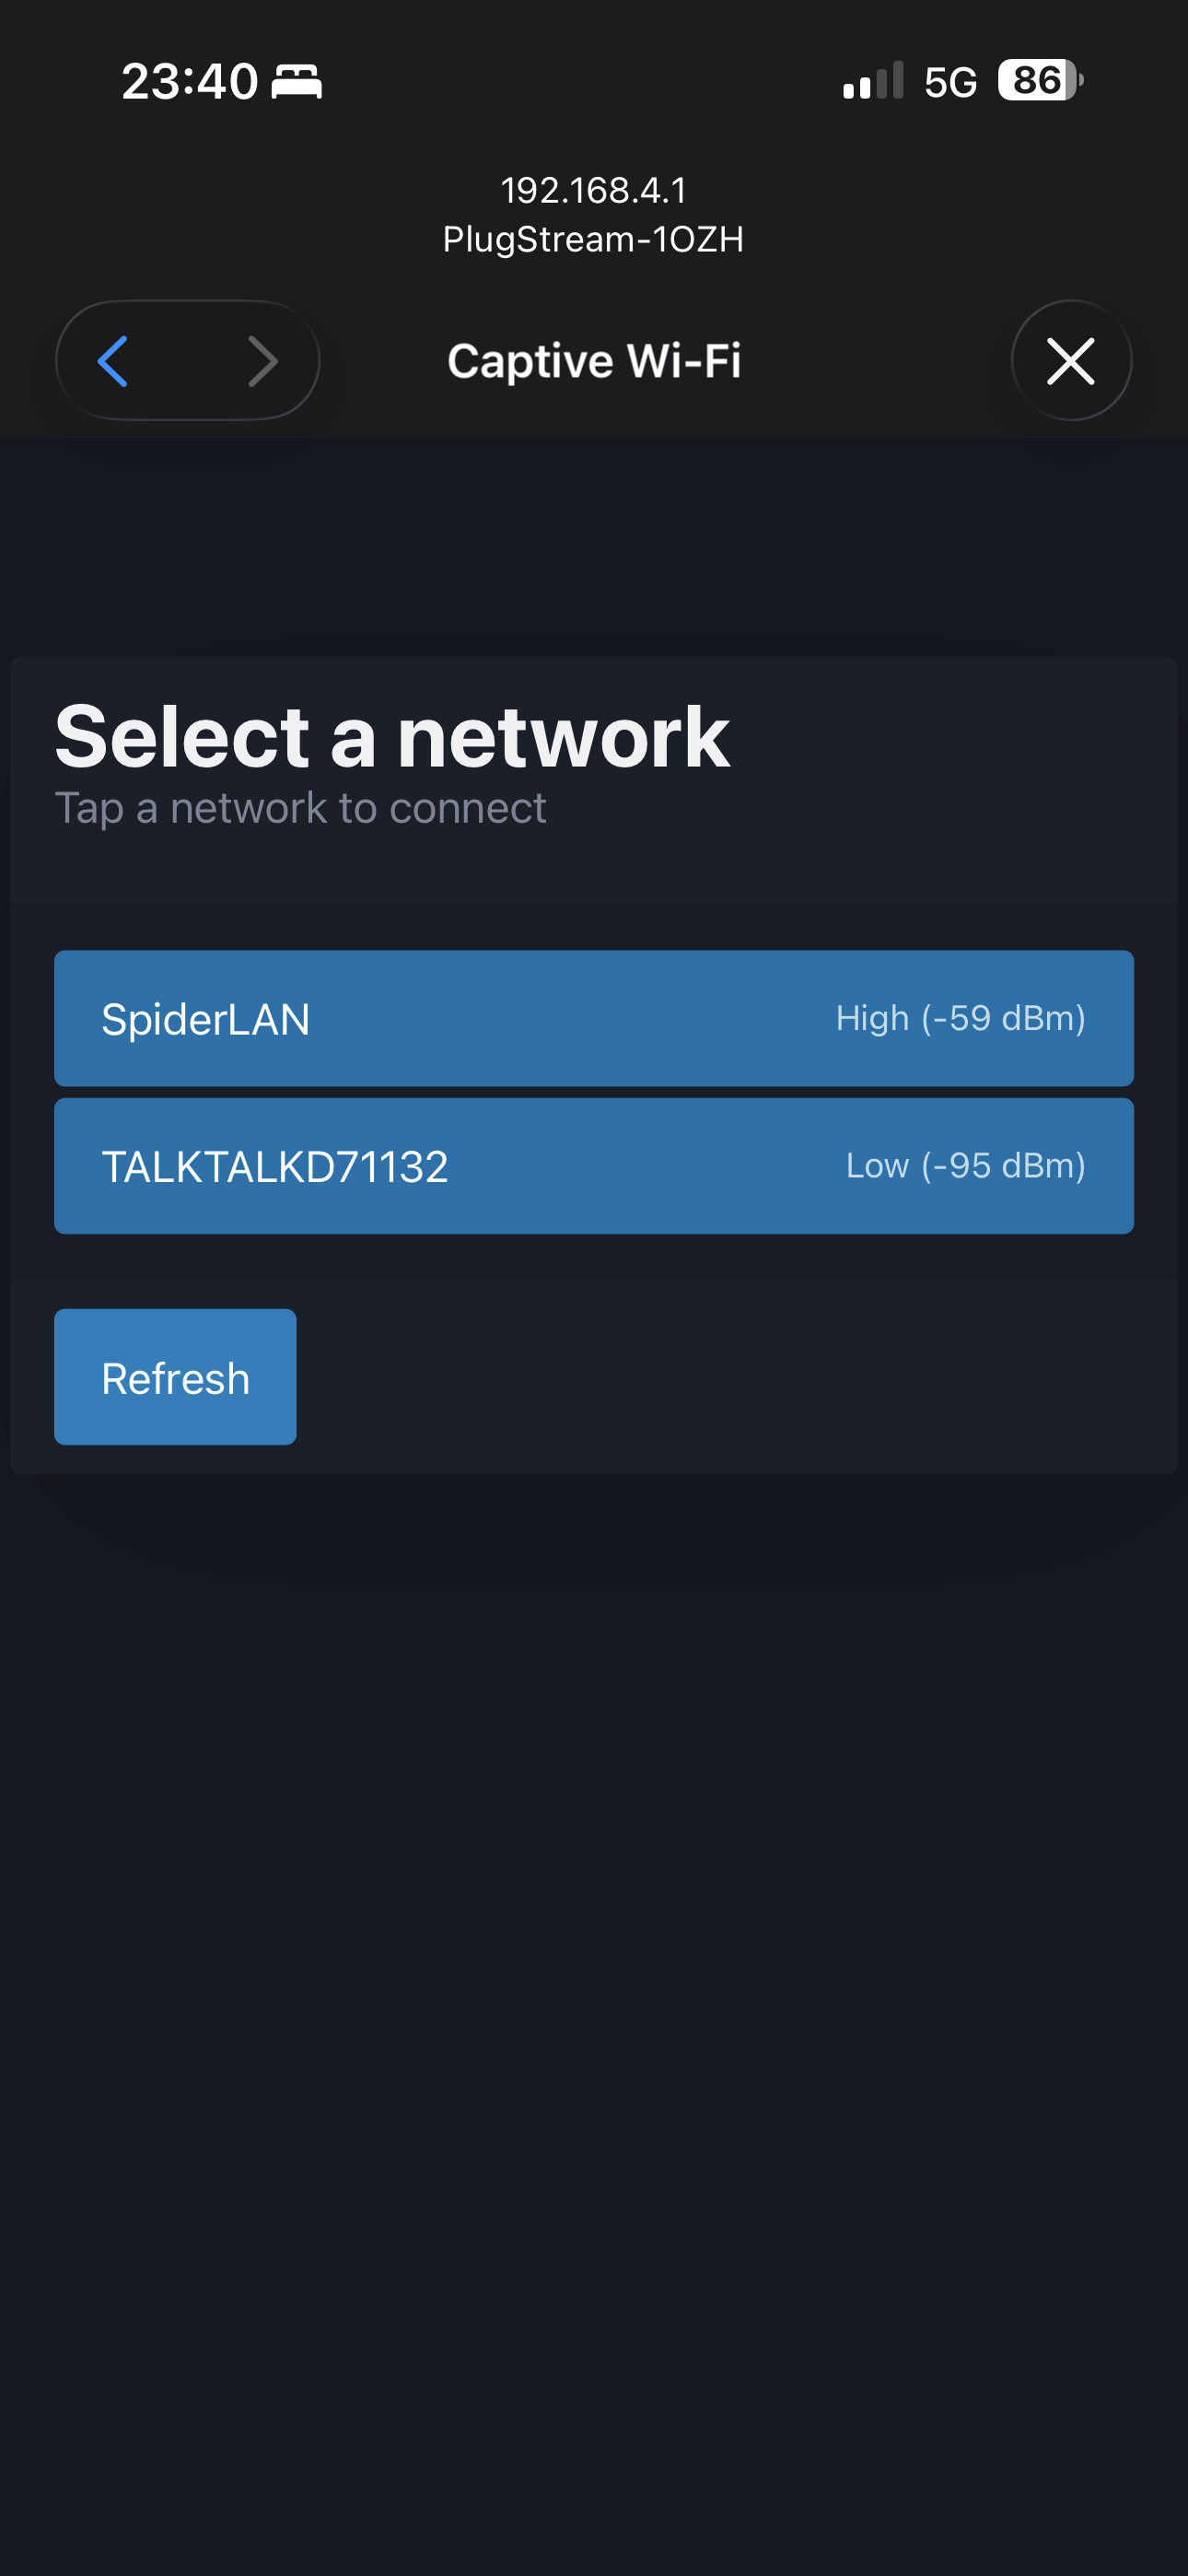
- Choose your home or business Wi-Fi network from the list and enter the password.
- If your network does not appear, click Refresh.
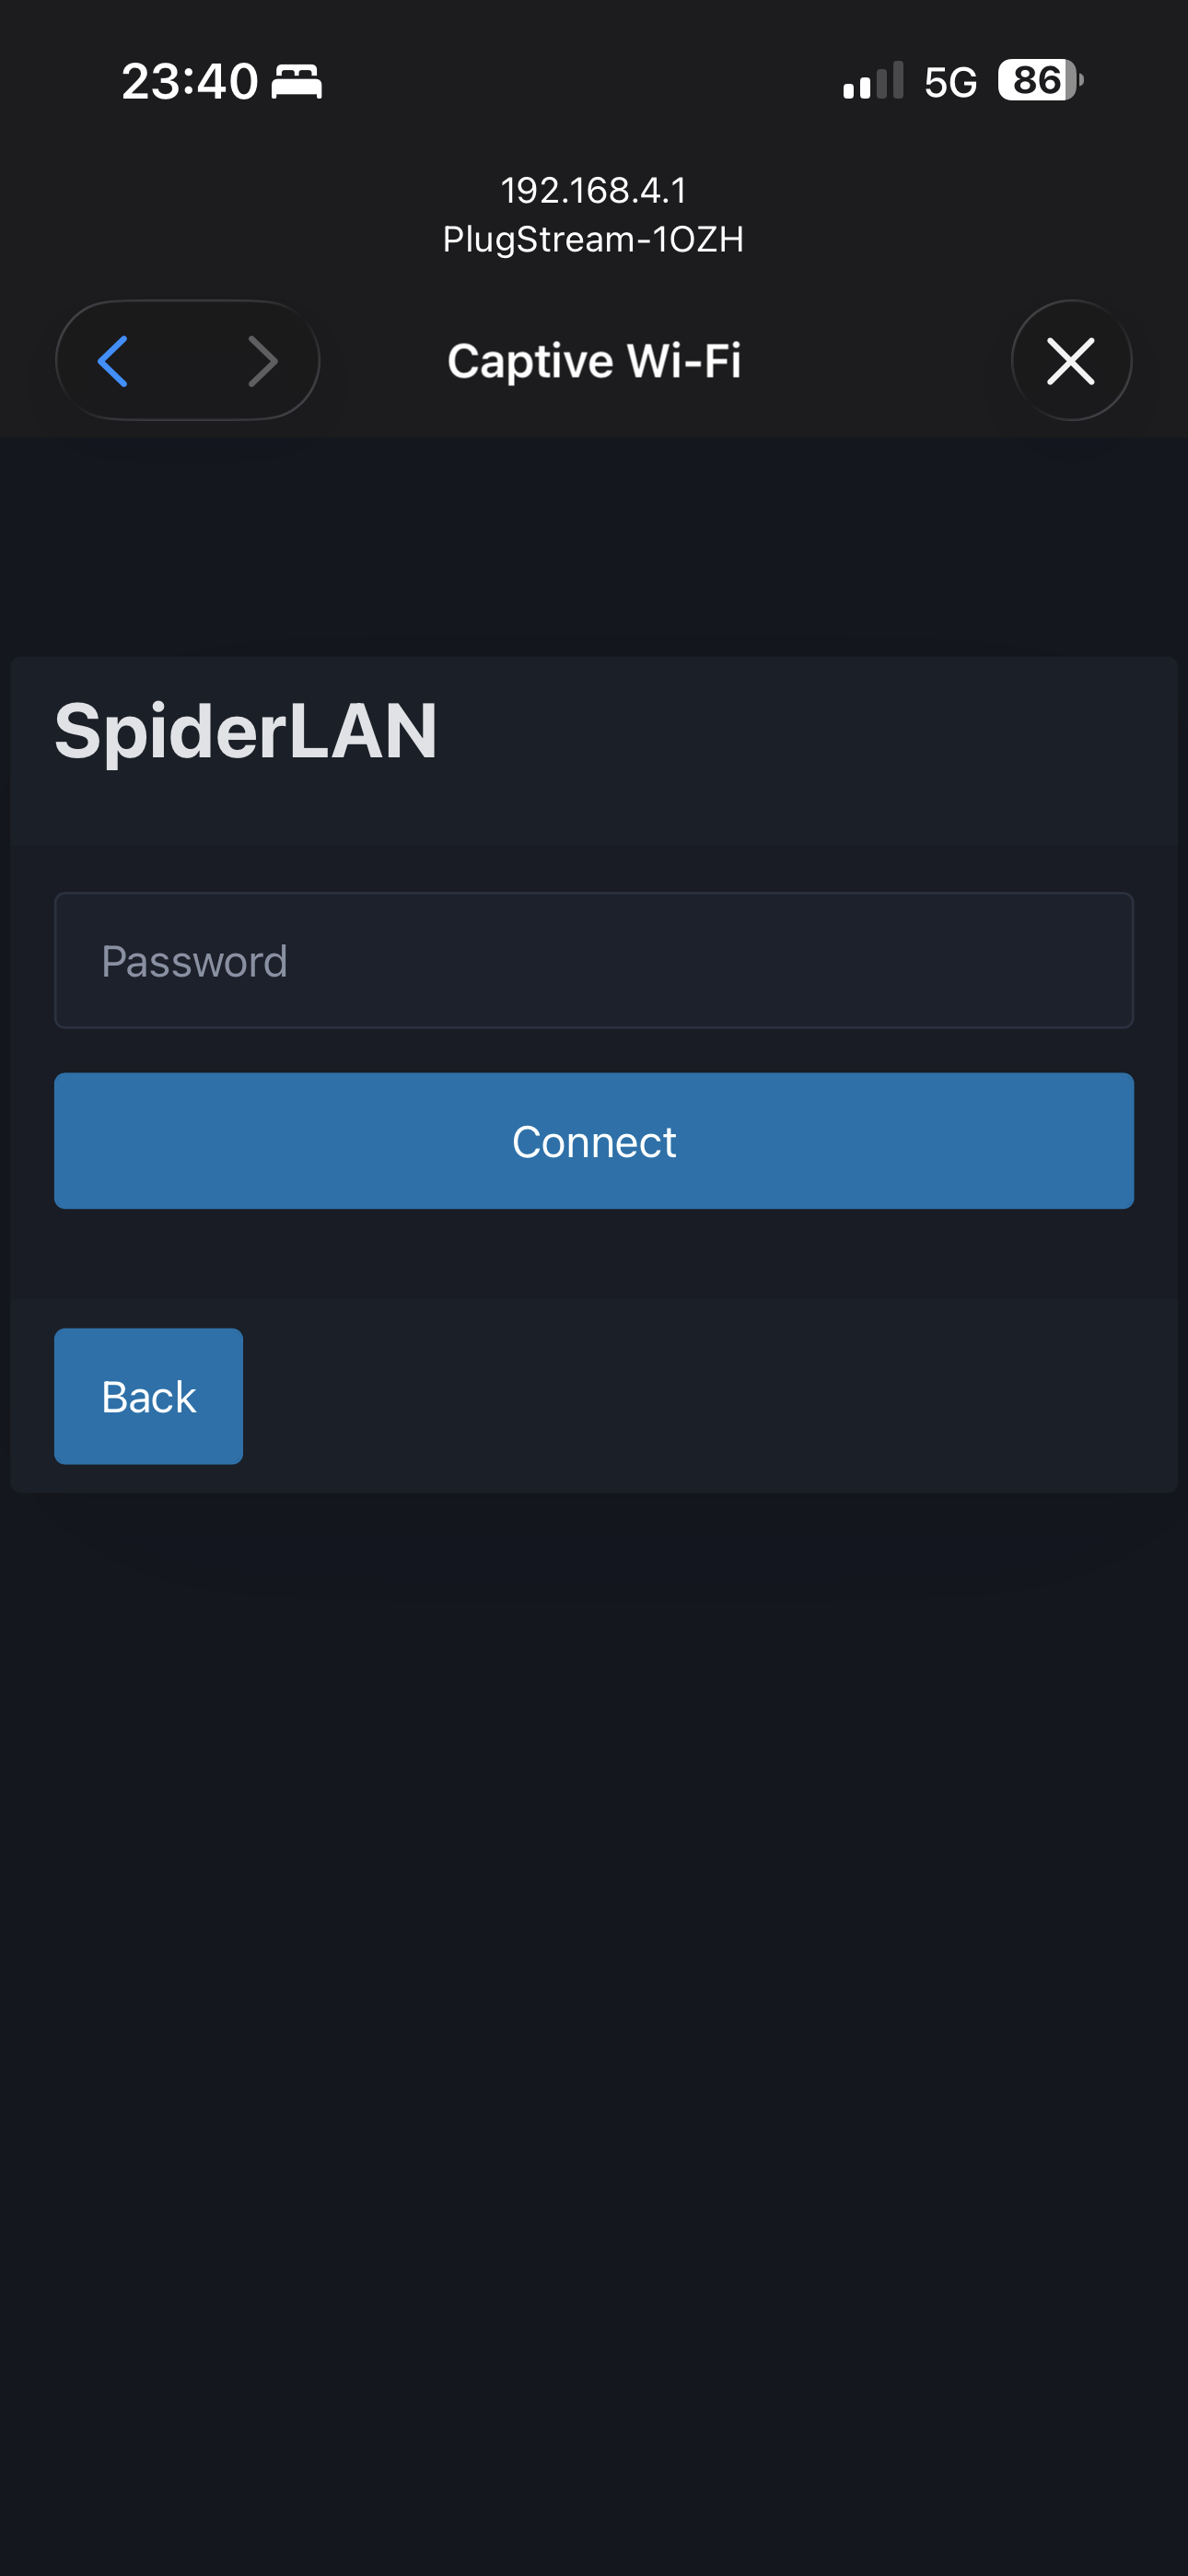
Check your Wi-Fi password carefully
Be careful not to confuse zeros (0) with the letter O — they can look similar when typed.
- Click Connect.
- PlugStream will restart and attempt to connect to your Wi-Fi.
- A successful connection is confirmed when the LED indicator ring shows solid white.
- Once PlugStream is successfully joined to your network and can access the internet, it will connect to PlugStream Cloud which is confirmed when the LED indicator ring shows solid blue (see LED Status Guide for details).
Next Steps
Once configured, PlugStream will remain online via your chosen Wi-Fi network.
If Wi-Fi is unreliable, you can always connect Ethernet later for maximum stability.